
Build AI workflows in n8n with one API key: the ApexApi node
n8n is one of the best ways to automate real work without writing a backend. The friction starts when you add models to a workflow: each provider wants its own credential, its own node, and its own quirks, and comparing two models means rebuilding half the flow.
The ApexApi community node removes that. One node kit, one key, and any workflow can call 129+ models across chat, image, video and audio, plus live web context (read a page, crawl a site, pull structured data). Here is how to set it up and connect it.
1. Install the node
In n8n, open Settings → Community Nodes → Install and enter:
n8n-nodes-apexapi
It is published on npm. On a self-hosted instance, make sure community nodes are enabled first. Once it installs, the ApexApi nodes show up in the node panel like any built-in node. To update later: Settings → Community Nodes → the installed node → Update.
2. Add your ApexApi key
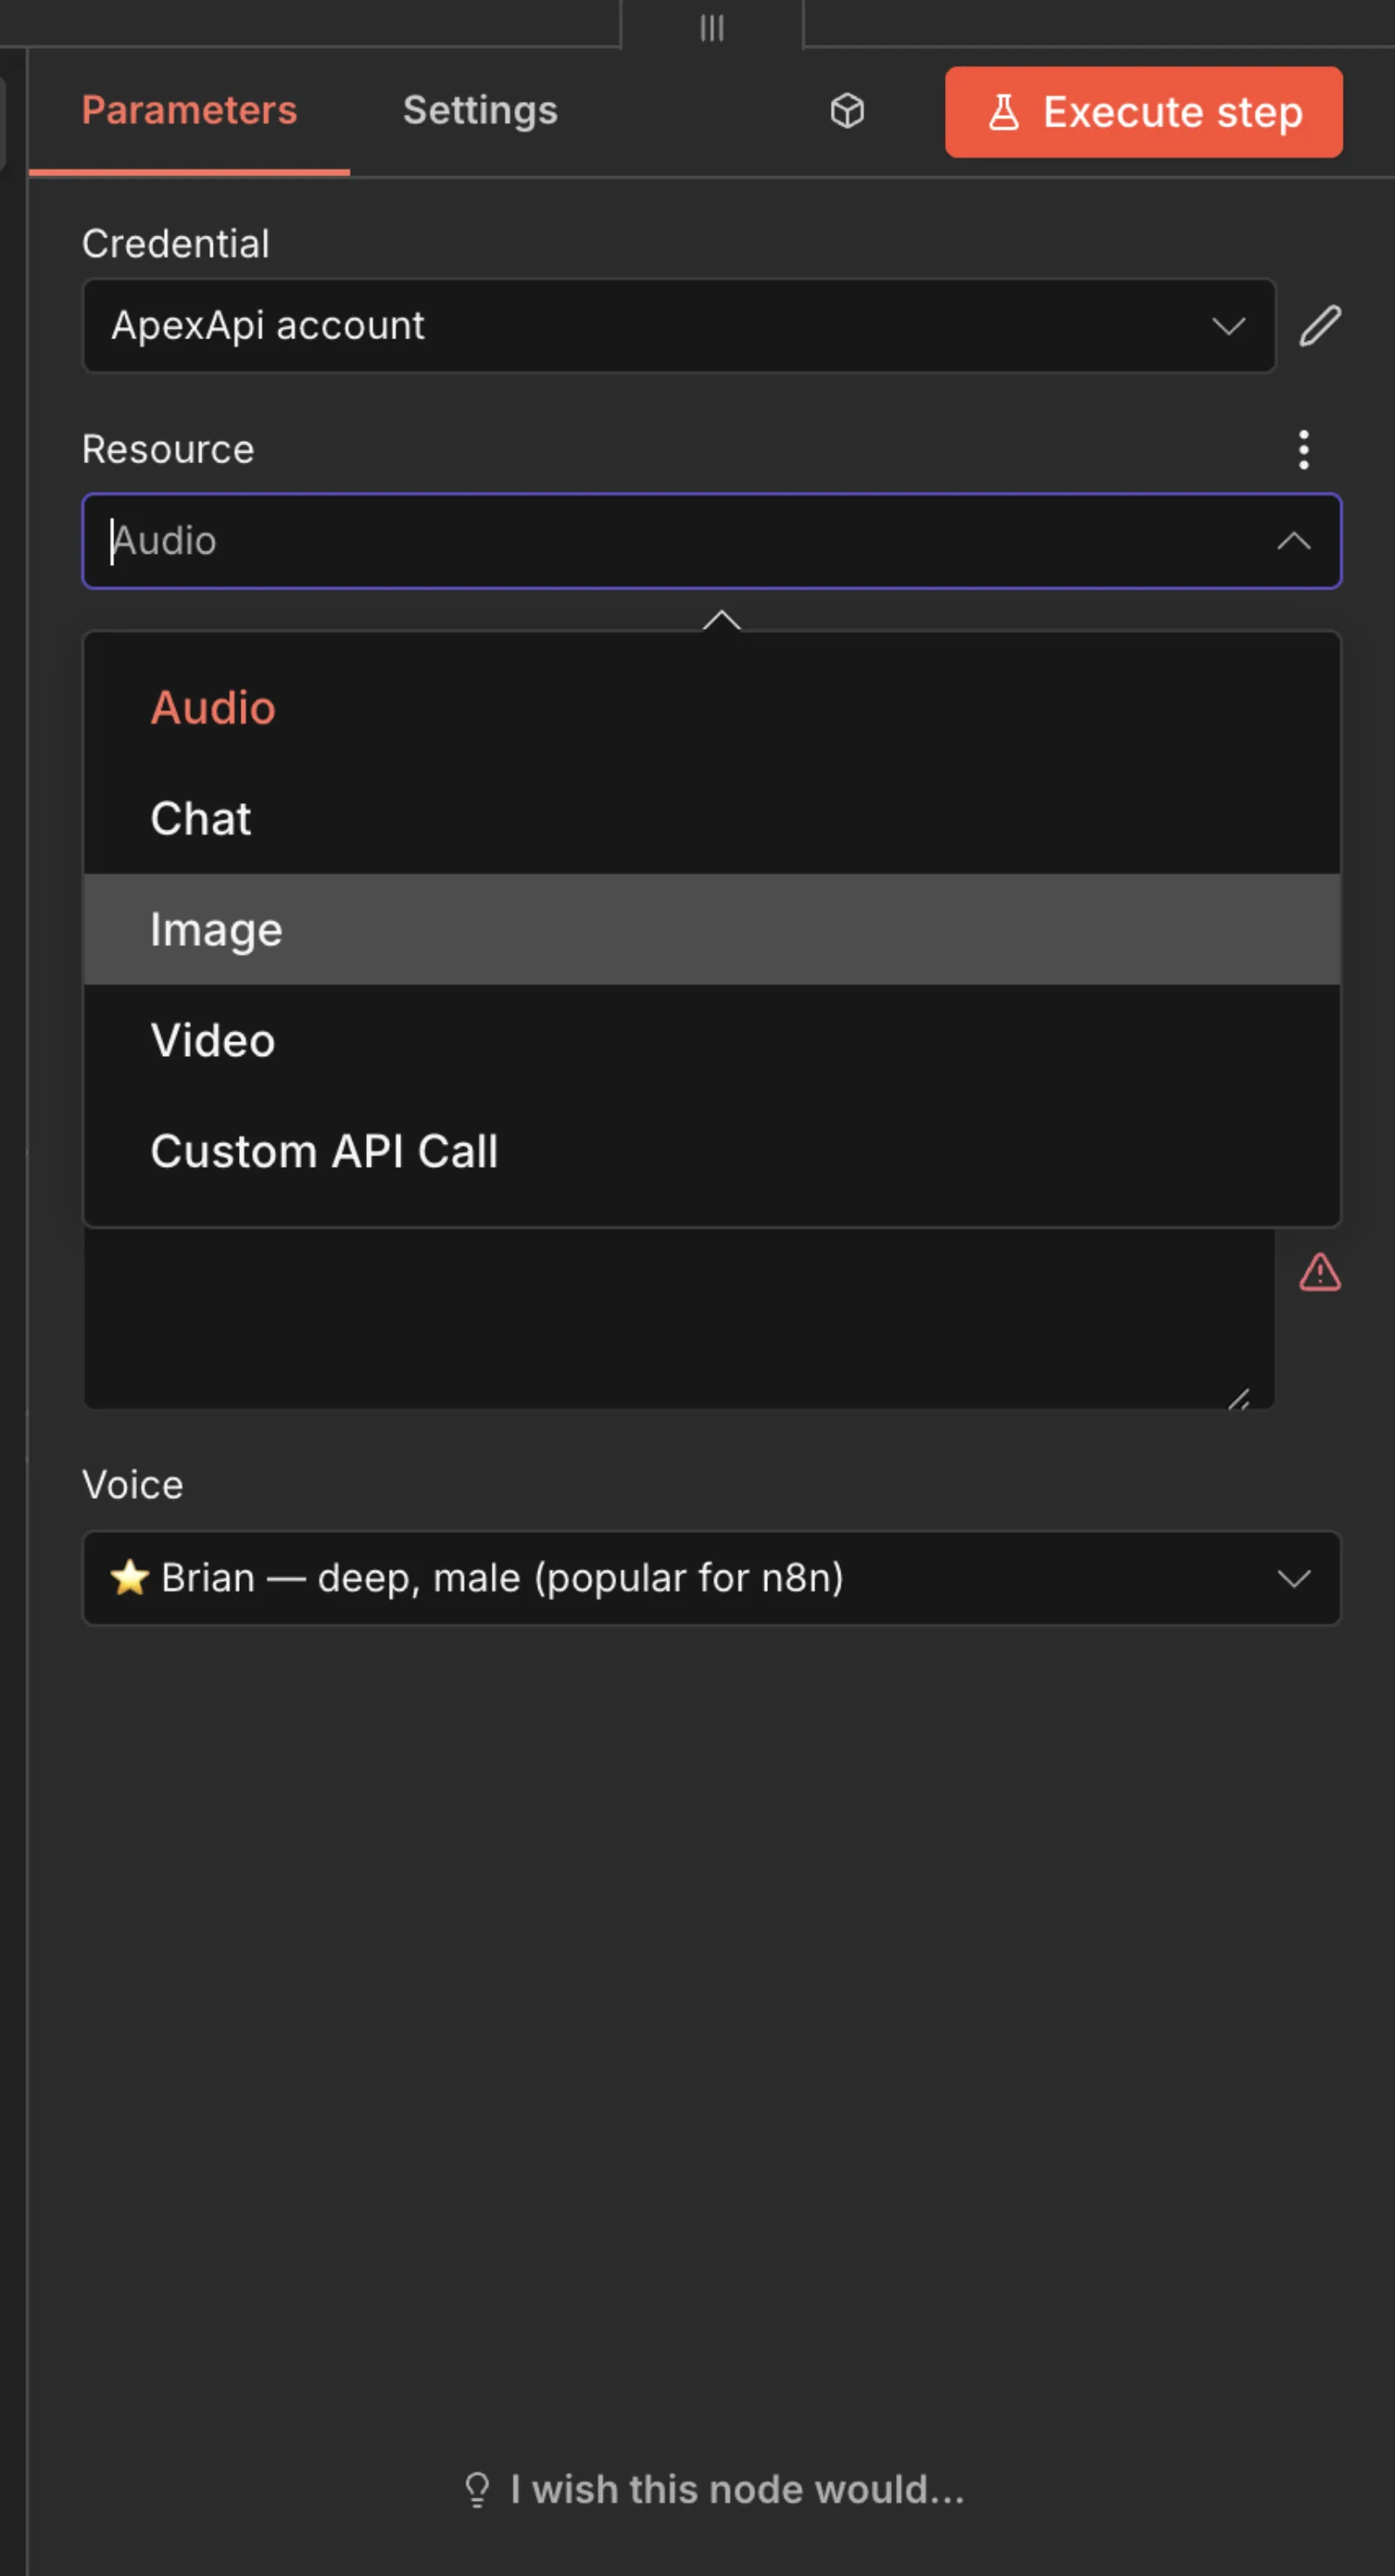
Create an ApexApi credential and paste your ak- key. That single key is all the authentication you need for every model and every web-context call. If you do not have a key yet, create one in the dashboard, then browse the model catalog to see what you can call.
3. The three nodes
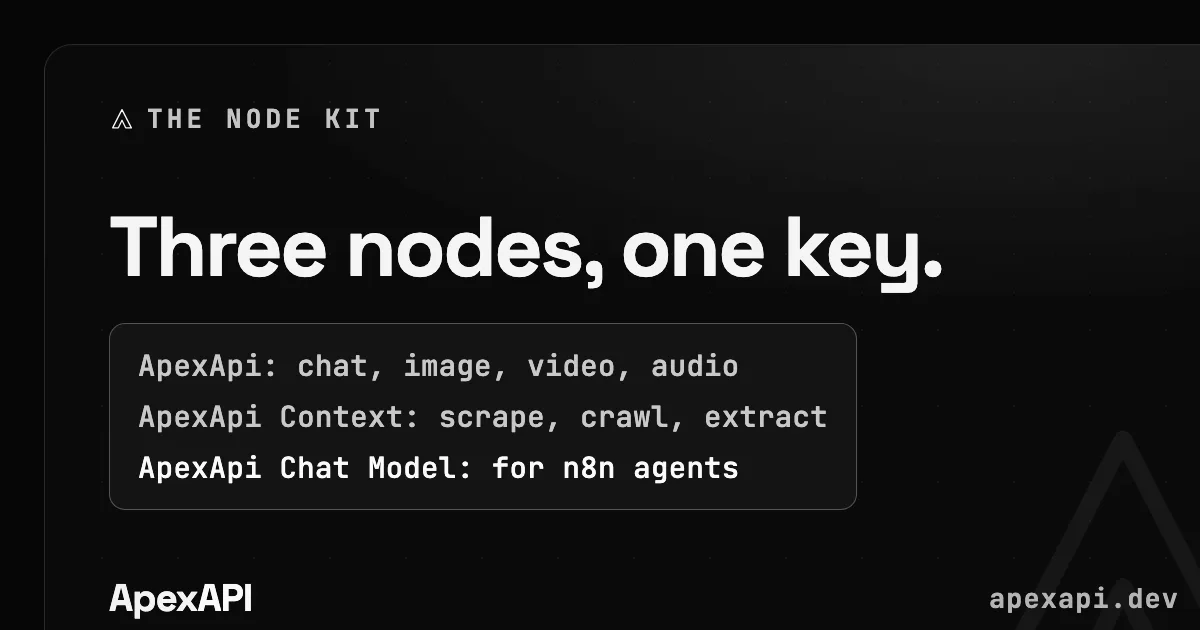
The kit is three nodes that cover the whole surface:
- ApexApi runs a model: chat completions, image generation, video, or audio. Pick the operation, set the model slug (for example
openai/gpt-5.5orblack-forest-labs/flux-2-pro), and pass your input. - ApexApi Context gives a workflow live web knowledge: scrape a page to clean markdown, crawl a site, or pull ready-made structured data. Same key for all three. Crawl and structured extract bill only successful results; a page read bills whenever the fetch is dispatched, even on a blocked or empty page.
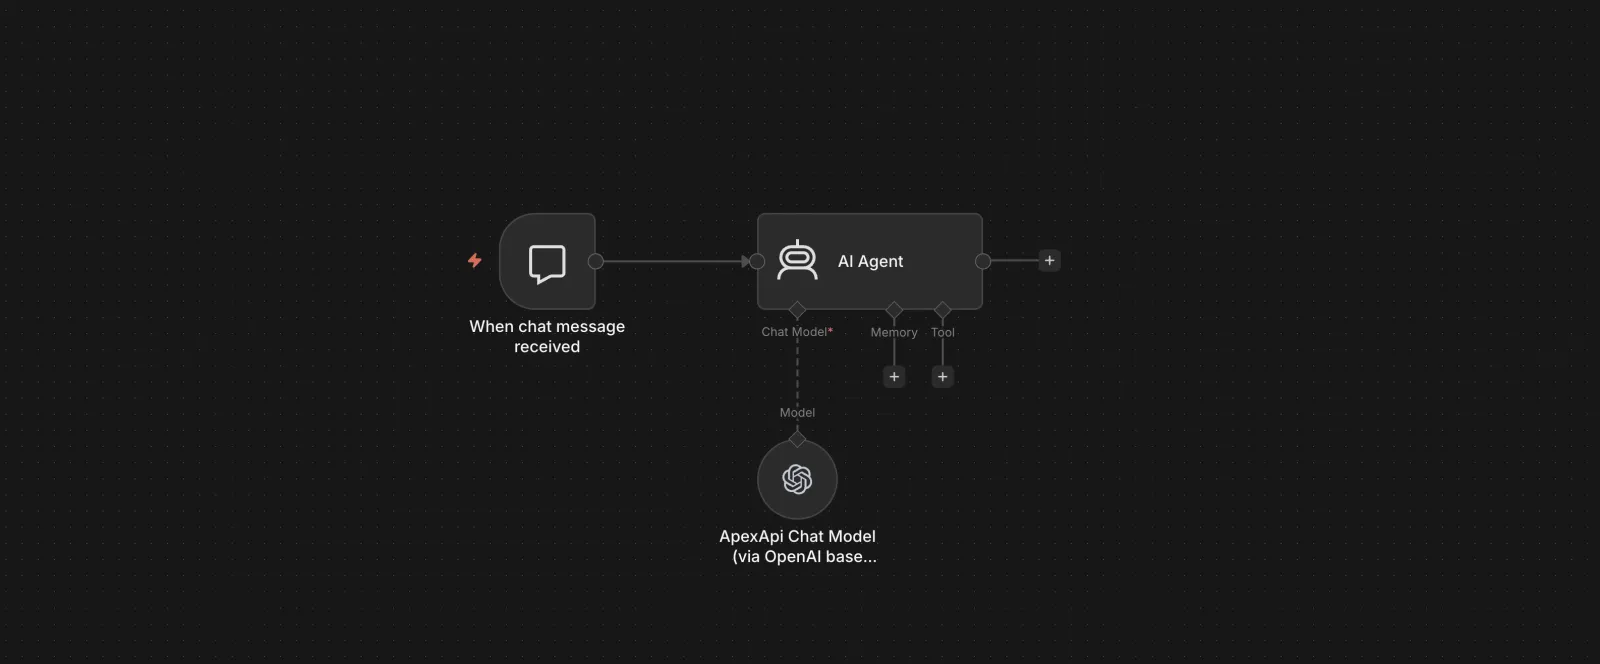
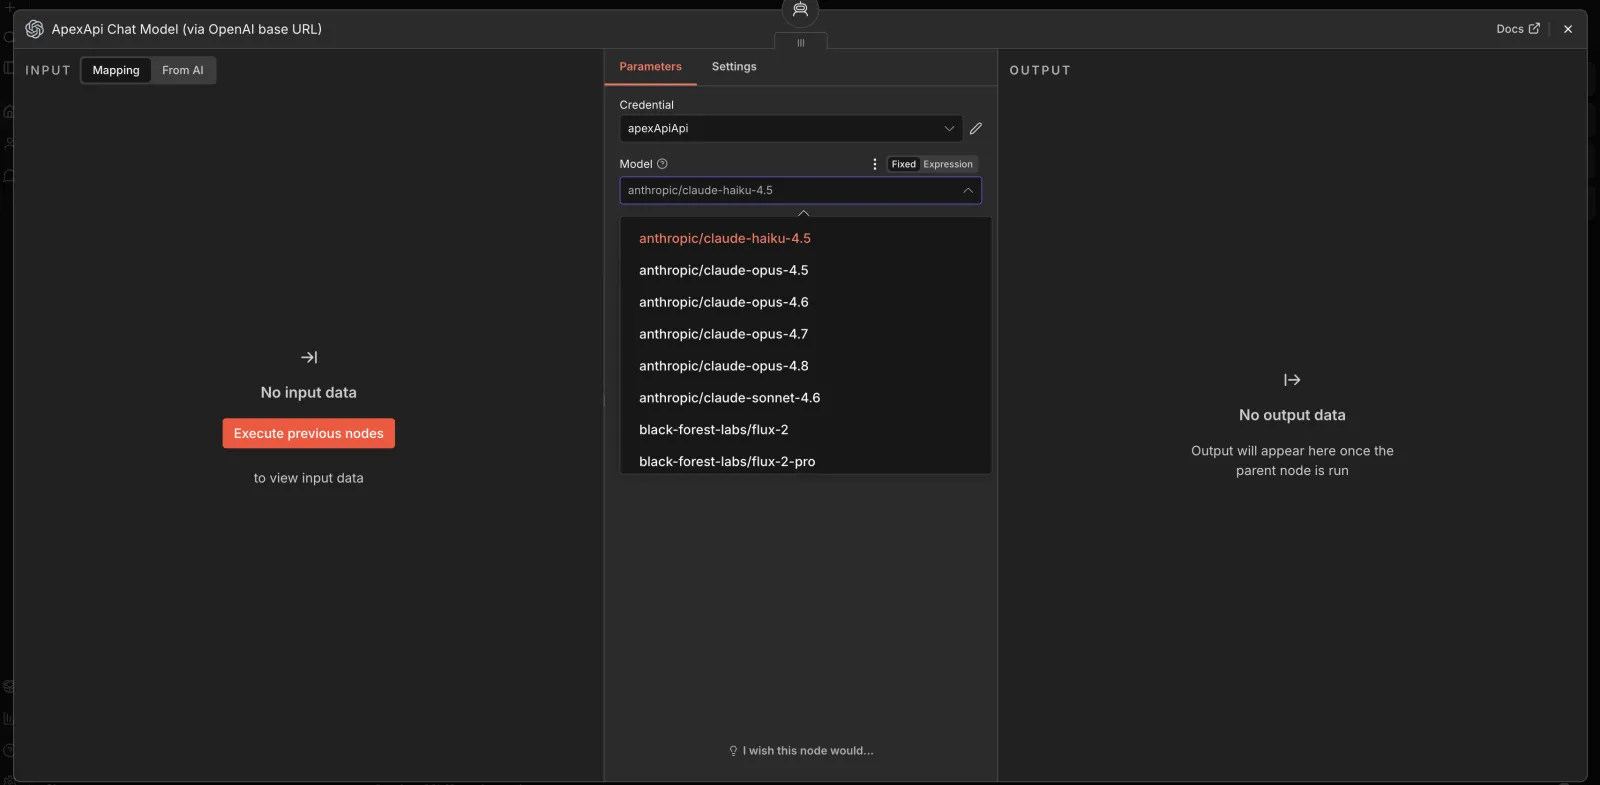
- ApexApi Chat Model is a sub-node for the n8n AI Agent. Drop it in as the agent's model and your agent can reason with any model in the catalog.
4. Connect everything
Here is a workflow you can build in a couple of minutes: turn any URL into a short summary.
- Trigger (Manual, Schedule, or a Webhook) starts the flow.
- ApexApi Context → Read a Page takes a URL and returns clean, LLM-ready markdown.
- ApexApi → Chat takes that markdown and a prompt like "Summarize this in five bullet points" using a model of your choice.
- Output to wherever you want it: a Google Sheet, a Slack message, an email.
That is the pattern behind most useful automations: read something from the web, reason over it with a model, then act. Because both the reading and the reasoning are ApexApi nodes on the same key, there is nothing else to wire.
For a conversational agent, connect the ApexApi Chat Model to an n8n AI Agent as its model. The agent handles the chat loop; ApexApi provides the model behind it, and you can swap that model whenever you want.
5. Switch models with one field
Want to run the same workflow on a cheaper model, or compare two? Change the model field on the ApexApi node. Nothing else moves. One of the shipped templates does exactly this: it fans one prompt out to three chat nodes so you can compare outputs side by side. Swapping a frontier model for a smaller one to cut cost on high-volume steps is a one-field edit.
6. Start from a template
The node ships starter templates, and several have full step-by-step guides:
- Summarize any website: URL to summary, the pattern from section 4.
- Scrape Amazon product data: structured product JSON into your workflow.
- Crawl a site into a knowledge base: turn a whole site into AI-ready content.
- Competitor price monitor: watch prices and alert on changes.
- Enrich leads from Crunchbase: company data on autopilot.
- RSS news summarizer: read a feed, summarize, post.
Import one, add your ApexApi credential, and run. The full install reference and the rest of the templates are on the n8n docs page.
Where to go next
- n8n integration docs: install guide, node reference, all templates.
- Model catalog: every model you can drop into a workflow.
- One API key for every model: the same idea, from code instead of n8n.
Build the workflow once, and swapping models is a field, not a rebuild.
Frequently asked questions
- How do I install the ApexApi node in n8n?
- In n8n go to Settings, then Community Nodes, then Install, and enter n8n-nodes-apexapi. Self-hosted instances need community nodes enabled. After it installs, the ApexApi nodes appear in the node panel.
- Do I need a separate key for each model?
- No. One ApexApi key (ak-) reaches every model in the catalog and the web-context endpoints. You switch models by changing the model field on the node, not by adding credentials.
- Can ApexApi power an n8n AI Agent?
- Yes. The ApexApi Chat Model node plugs into the n8n AI Agent as its model, so your agent can call any model in the catalog and you can swap the underlying model freely.
- Where are the templates?
- The node ships starter templates, and several have step-by-step guides at apexapi.dev/n8n. You can import a template and just add your ApexApi credential.
Recommended
More posts
- How an AI agent funds and pays for its own API calls
Registration, balance and top-up as three HTTP calls instead of three web forms. The flow, the caps that keep it safe, and when a human is still required.
- Scrape, crawl and extract on the same key as your models
Three web context endpoints on the balance that already pays for inference. What each one costs, when to reach for which, and what you stop maintaining.
- Structured output across providers, and where it fails
JSON mode is three different guarantees wearing one name. What ports between providers, what gets silently ignored, and why you validate anyway.
One API key for every AI model
Start free